Happy Summer Folks! Well almost, right?
Materials:
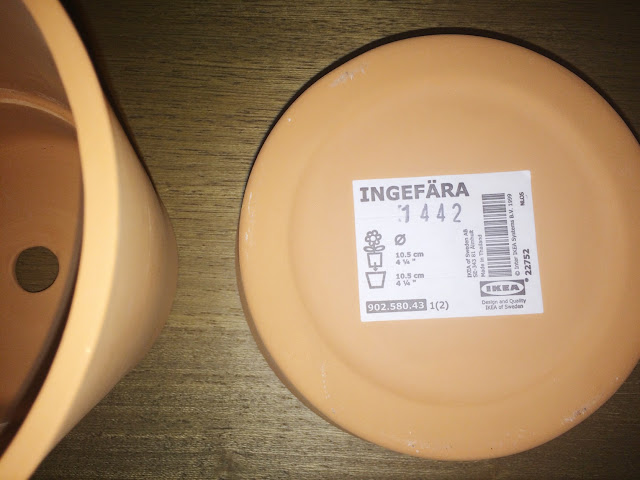
- A few terra cotta clay pots with trays (I HIGHLY recommend Ikea for sizes and prices)
- A tarp or drop cloth
- A can of white, flat primer spray paint
- A few cans of your fave spray paint colors (Be bold!)
- Painter's Tape
- A can of shellac or sealant
- A pencil
Find yourself a few basic terra cotta clay pots. The size is completely up to you. I recommend getting ones with trays if you plan to use them to for real flowers. If you plan to use yours to hold pens or as storage, no trays are needed. We have an Ikea here in Dallas so I went there and found some for a great price and in which the trays were included.
While you're out, drop in home depot or Lowe's and grab you a few cans of savvy colored spray paint and one can of flat white primer spray paint. I went to Lowe's so I grabbed a $5 Valspar primer and it was awesome.
Place your pots on a tarp or drop cloth and prime your pots. Prime on side. Let them dry 15-20 minutes, then flip them and complete the other side. Lightly prime the inside of the actual pots also.
Step 2:
After your pots are primed and DRY, using a pencil, lightly sketch the design or block creation that you are trying to make on your pot. You do NOT have to use the pencil at all if you do not want to. This is art, so there is no wrong design. I personally didnt use a pencil for a lot, but started first by just placing painter's tape on my pot to create the idea that I had in mind. The idea of the entire design is color in mass- color in blocks. So, you don't have to perfectly place apply your tape. See how I positioned my tape below. (If you notice the after photos at the end, I ended up readjusting my smaller design as I was painting. Be flexible, be creative!)
Step 3:
Spray paint your trays (if you are including trays). I chose to paint my trays solid in a metallic silver by Valspar.
Then, I spray painted random sections on my clay pots with that same color. Use as much painters tape as you need to cover spots that you want to avoid coloring with that color. Leave that to dry for 25-30 minutes, then do one more light coat. Leave that to dry WELL for 1-2 hours.
After that, once more, spray paint another section on your pot with a different color.(Remember: Use as much painters tape as you need to cover spots that you want to avoid coloring a certain color). Leave that to dry for 25-30 minutes, then do one more light coat.
Touch up any spots with your spray paint as needed. Let your pots dry overnight to make sure that they COMPLETELY dry before you proceed to step 4.
Step 4:
Remove all painters tape, and if you are 100% certain that all of the paint is dry, place tape over the already painted portions of the pot to protect it while you spray the remaining unpainted parts of the pot with a different color. Leave your pot to dry several hours or COMPLETELY. Then, remove all of the painter's tape.
Step 5:
Place your pots and trays on your tarp or drop cloth, and lightly spray them with the sealant of your choice. I went with a water based polyurethane of course, but you can use Shellac or another that your prefer. And……drum roll please…..


No comments :
Post a Comment